
Obtaining a good set of vitals early and often is a key role of pre-hospital life support professionals as it provides a trend to contextualize patient improvement or deterioration. Whether you're a brand new EMT or a seasoned EMS professional these are the fundamentals you want to learn and master. Today, we're going to be doing a brief overview of fundamental vital signs, what they represent, why they're important to our clinical practice, and how to obtain them. (Watch the video below or keep reading!).
This is the first in a three part series in which we'll be covering all of the vital signs that commonly inform pre-hospital medicine, starting with the fundamentals of respiratory rate, heart rate, and blood pressure. Each of these three main vitals signs gives us an insight into which major physiological systems are affected, as well as which branch of the patient's autonomic nervous system is currently dominating patient physiology. (To learn how to perform a rapid trauma assessment, click here).
Each of these three main vital signs has a normal range in healthy adults. Heart rate's normal range is in between 60 and 100 beats per minute. Respirations in a normal adult are between 10 and 20 per minute. And a normal blood pressure value is 120 systolic over 80 diastolic. Blood pressure values can vary widely in adults, but a systolic value of less than 100 millimeters of mercury is considered abnormally low, or hypotensive.
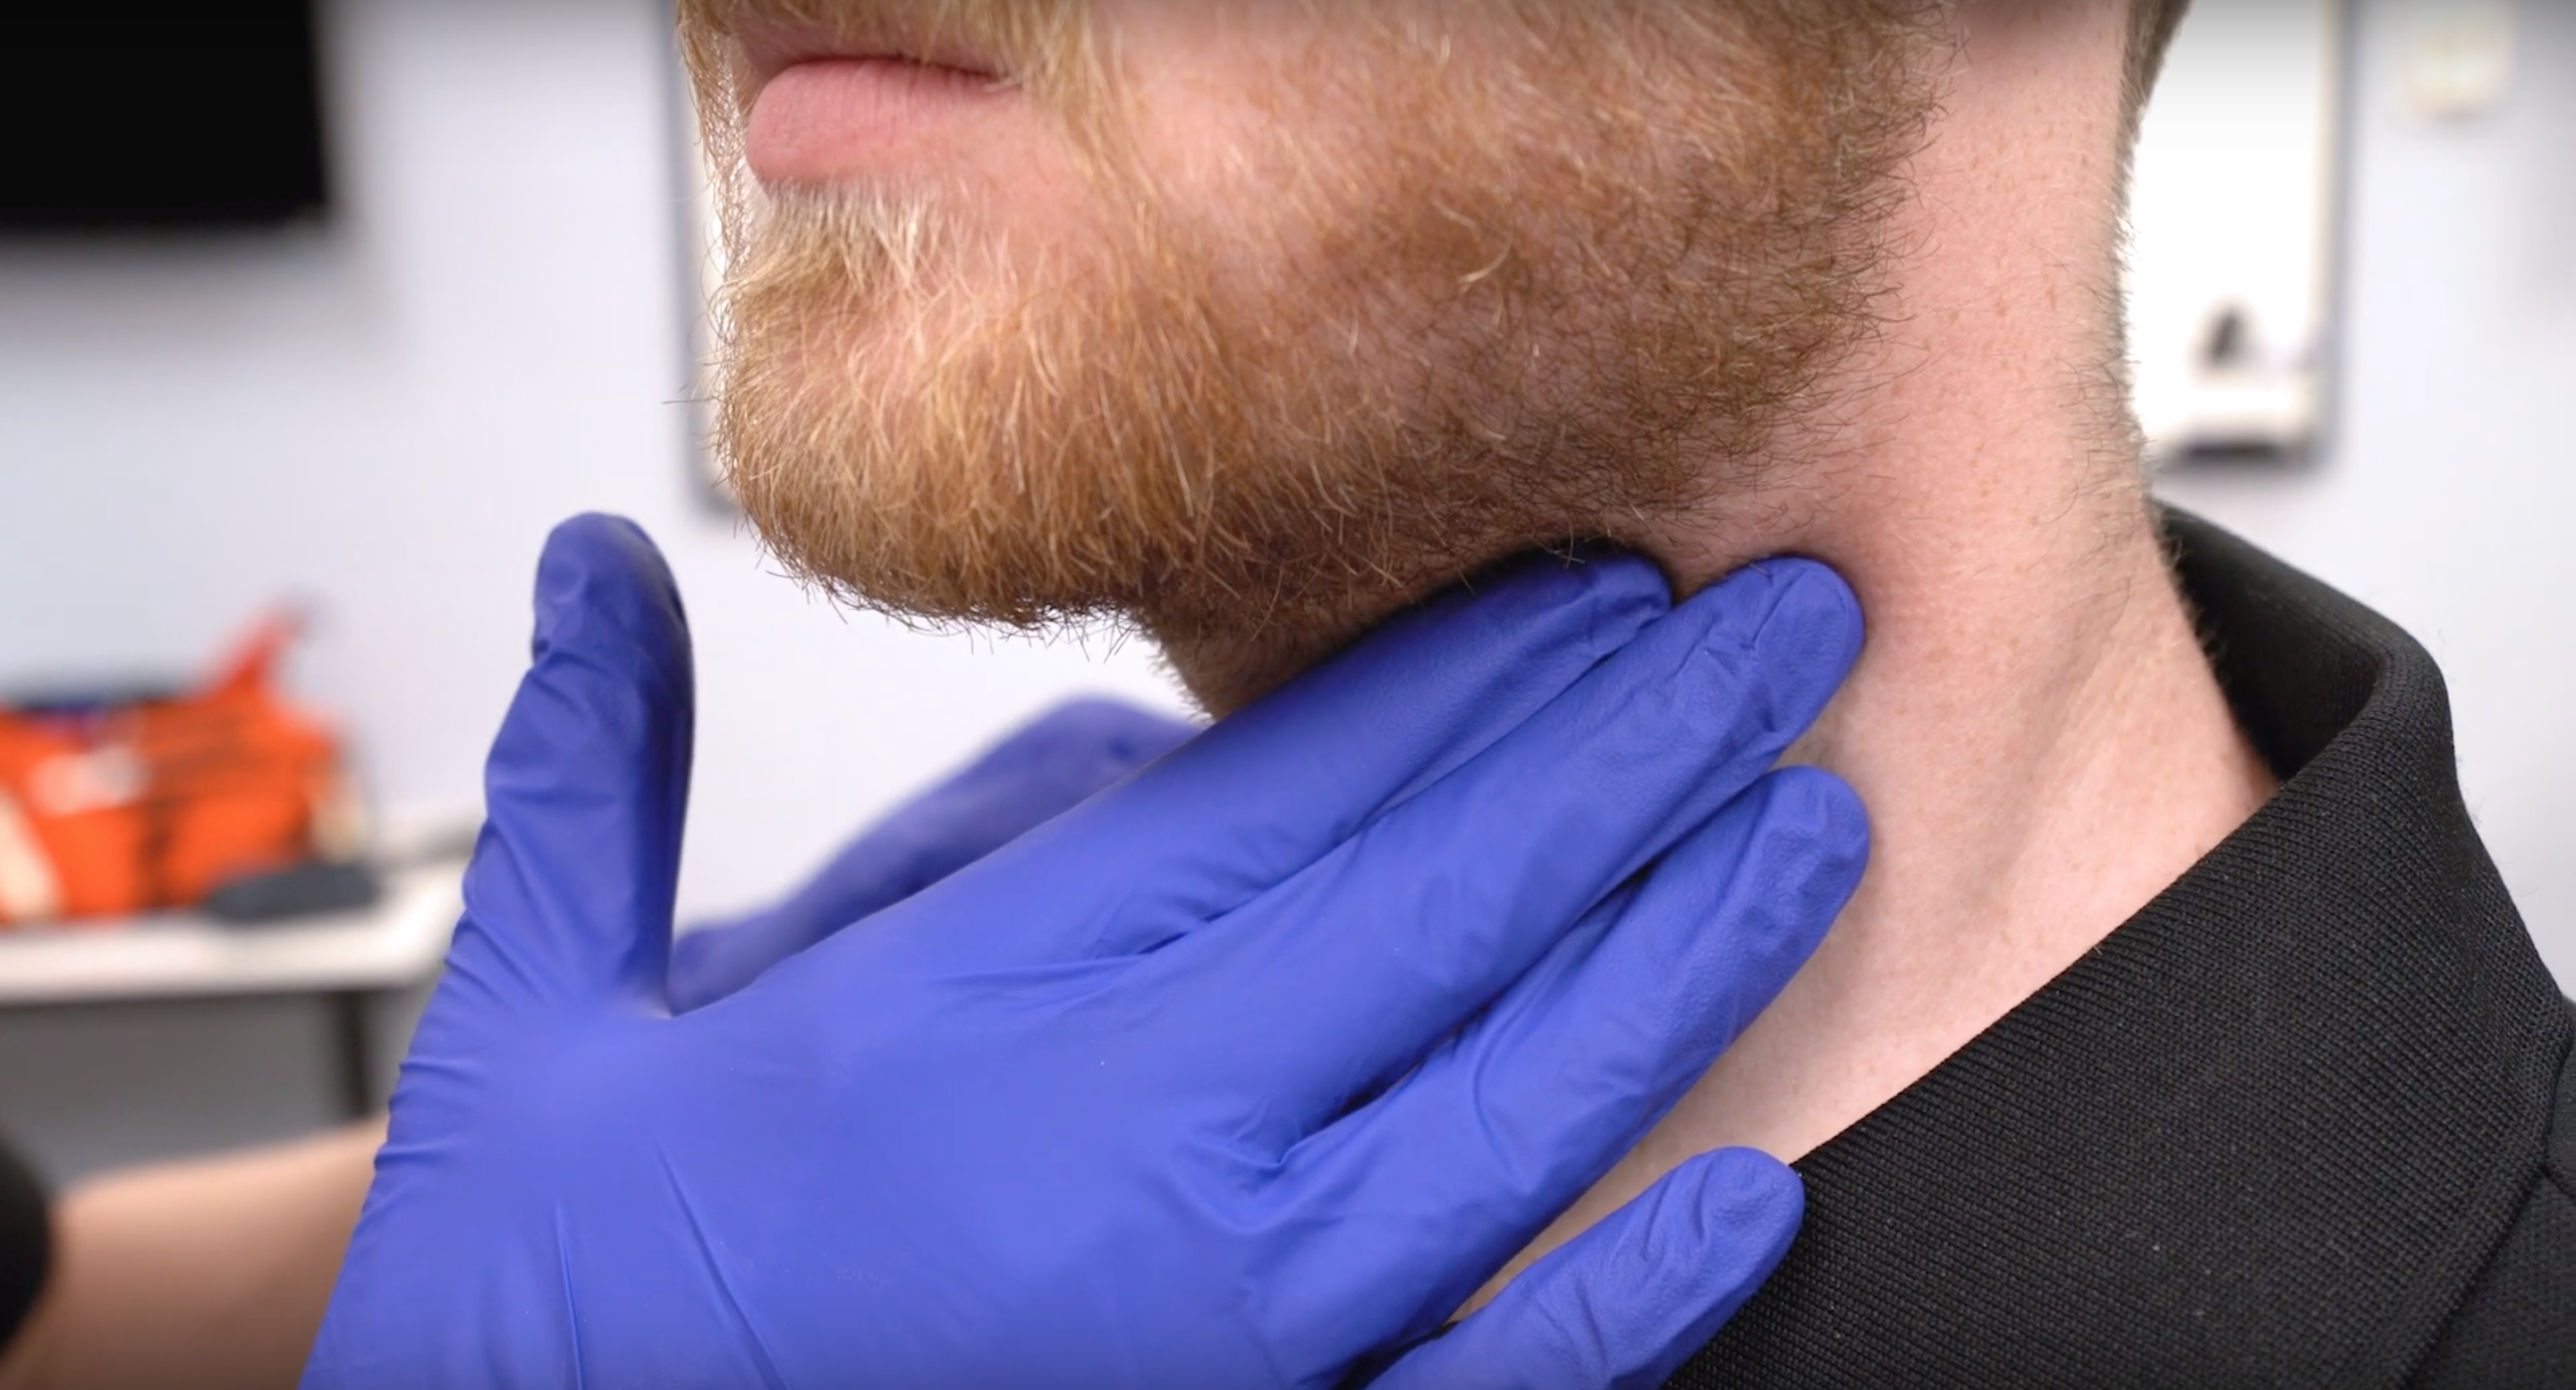
Pulse classification is divided into central and peripheral, and which one we assess depends on whether our patient is responsive or unresponsive. In an unresponsive patient, we care about checking their central pulse, such as their carotid pulse. In a responsive patient, we can check one of their peripheral pulses, most commonly the radial pulse.
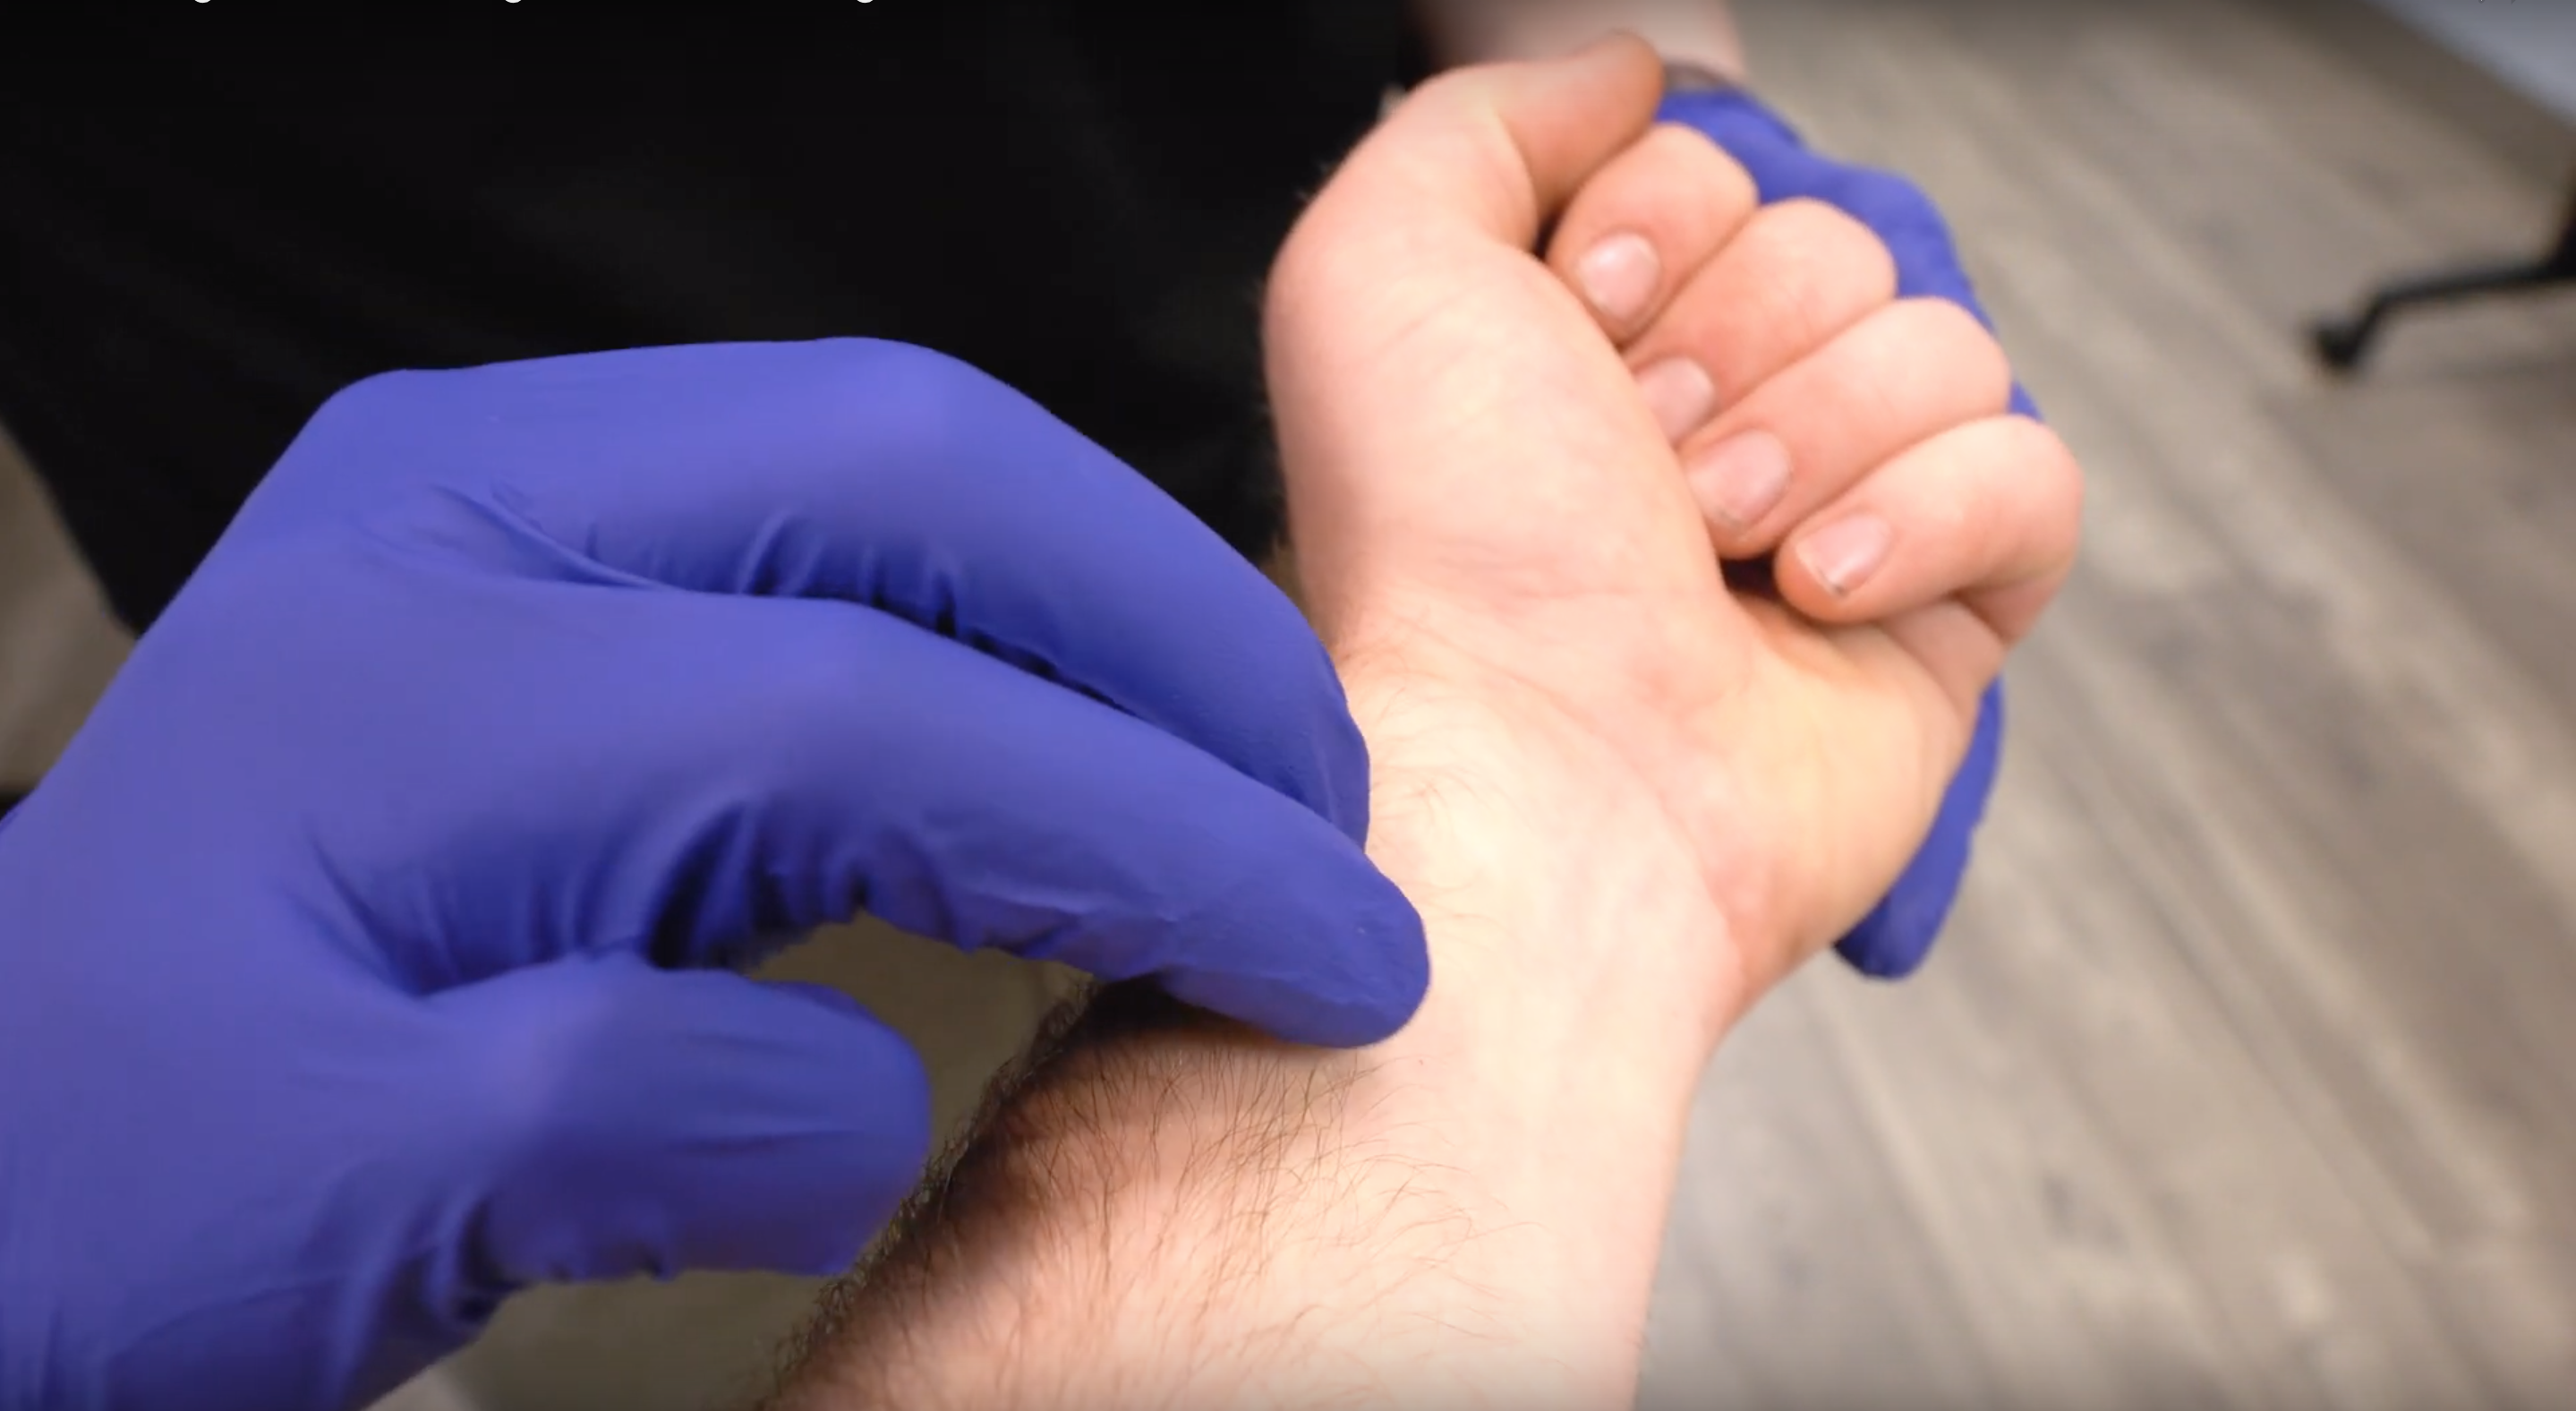
It can often be tricky to obtain an accurate reading of a patient's respiratory rate, because once the patient realizes that you're observing their respirations, they become self conscious and began to breathe abnormally. A trick to overcome this is, when you're taking the patient's pulse, after you've explained to them what you're doing and counted your pulse rate, keep your hand on their wrist and begin to monitor their respirations for another 15 to 30 seconds.
The radial artery runs along the inside of the patient's forearm and is palpated just proximal to the wrist. To palpate the pulse, place three fingers using the tips, which are more sensitive, in this region, pressing gently until the pulse is felt. It's important not to push too hard, otherwise you may occlude the pulse and not be able to feel it passing under your fingers.
To locate and palpate the posterior tibialis pulse, start at the medial malleolus, placing three fingers the sliding posterior and gently pushing. The two carotid arteries lie on either side of the trachea, and to find the pulse, you start on the trachea and gently move your hand laterally until you can feel the pulse. It's important to remember, only check the pulse on one side at a time, otherwise you could occlude blood flow to the patient's brain.
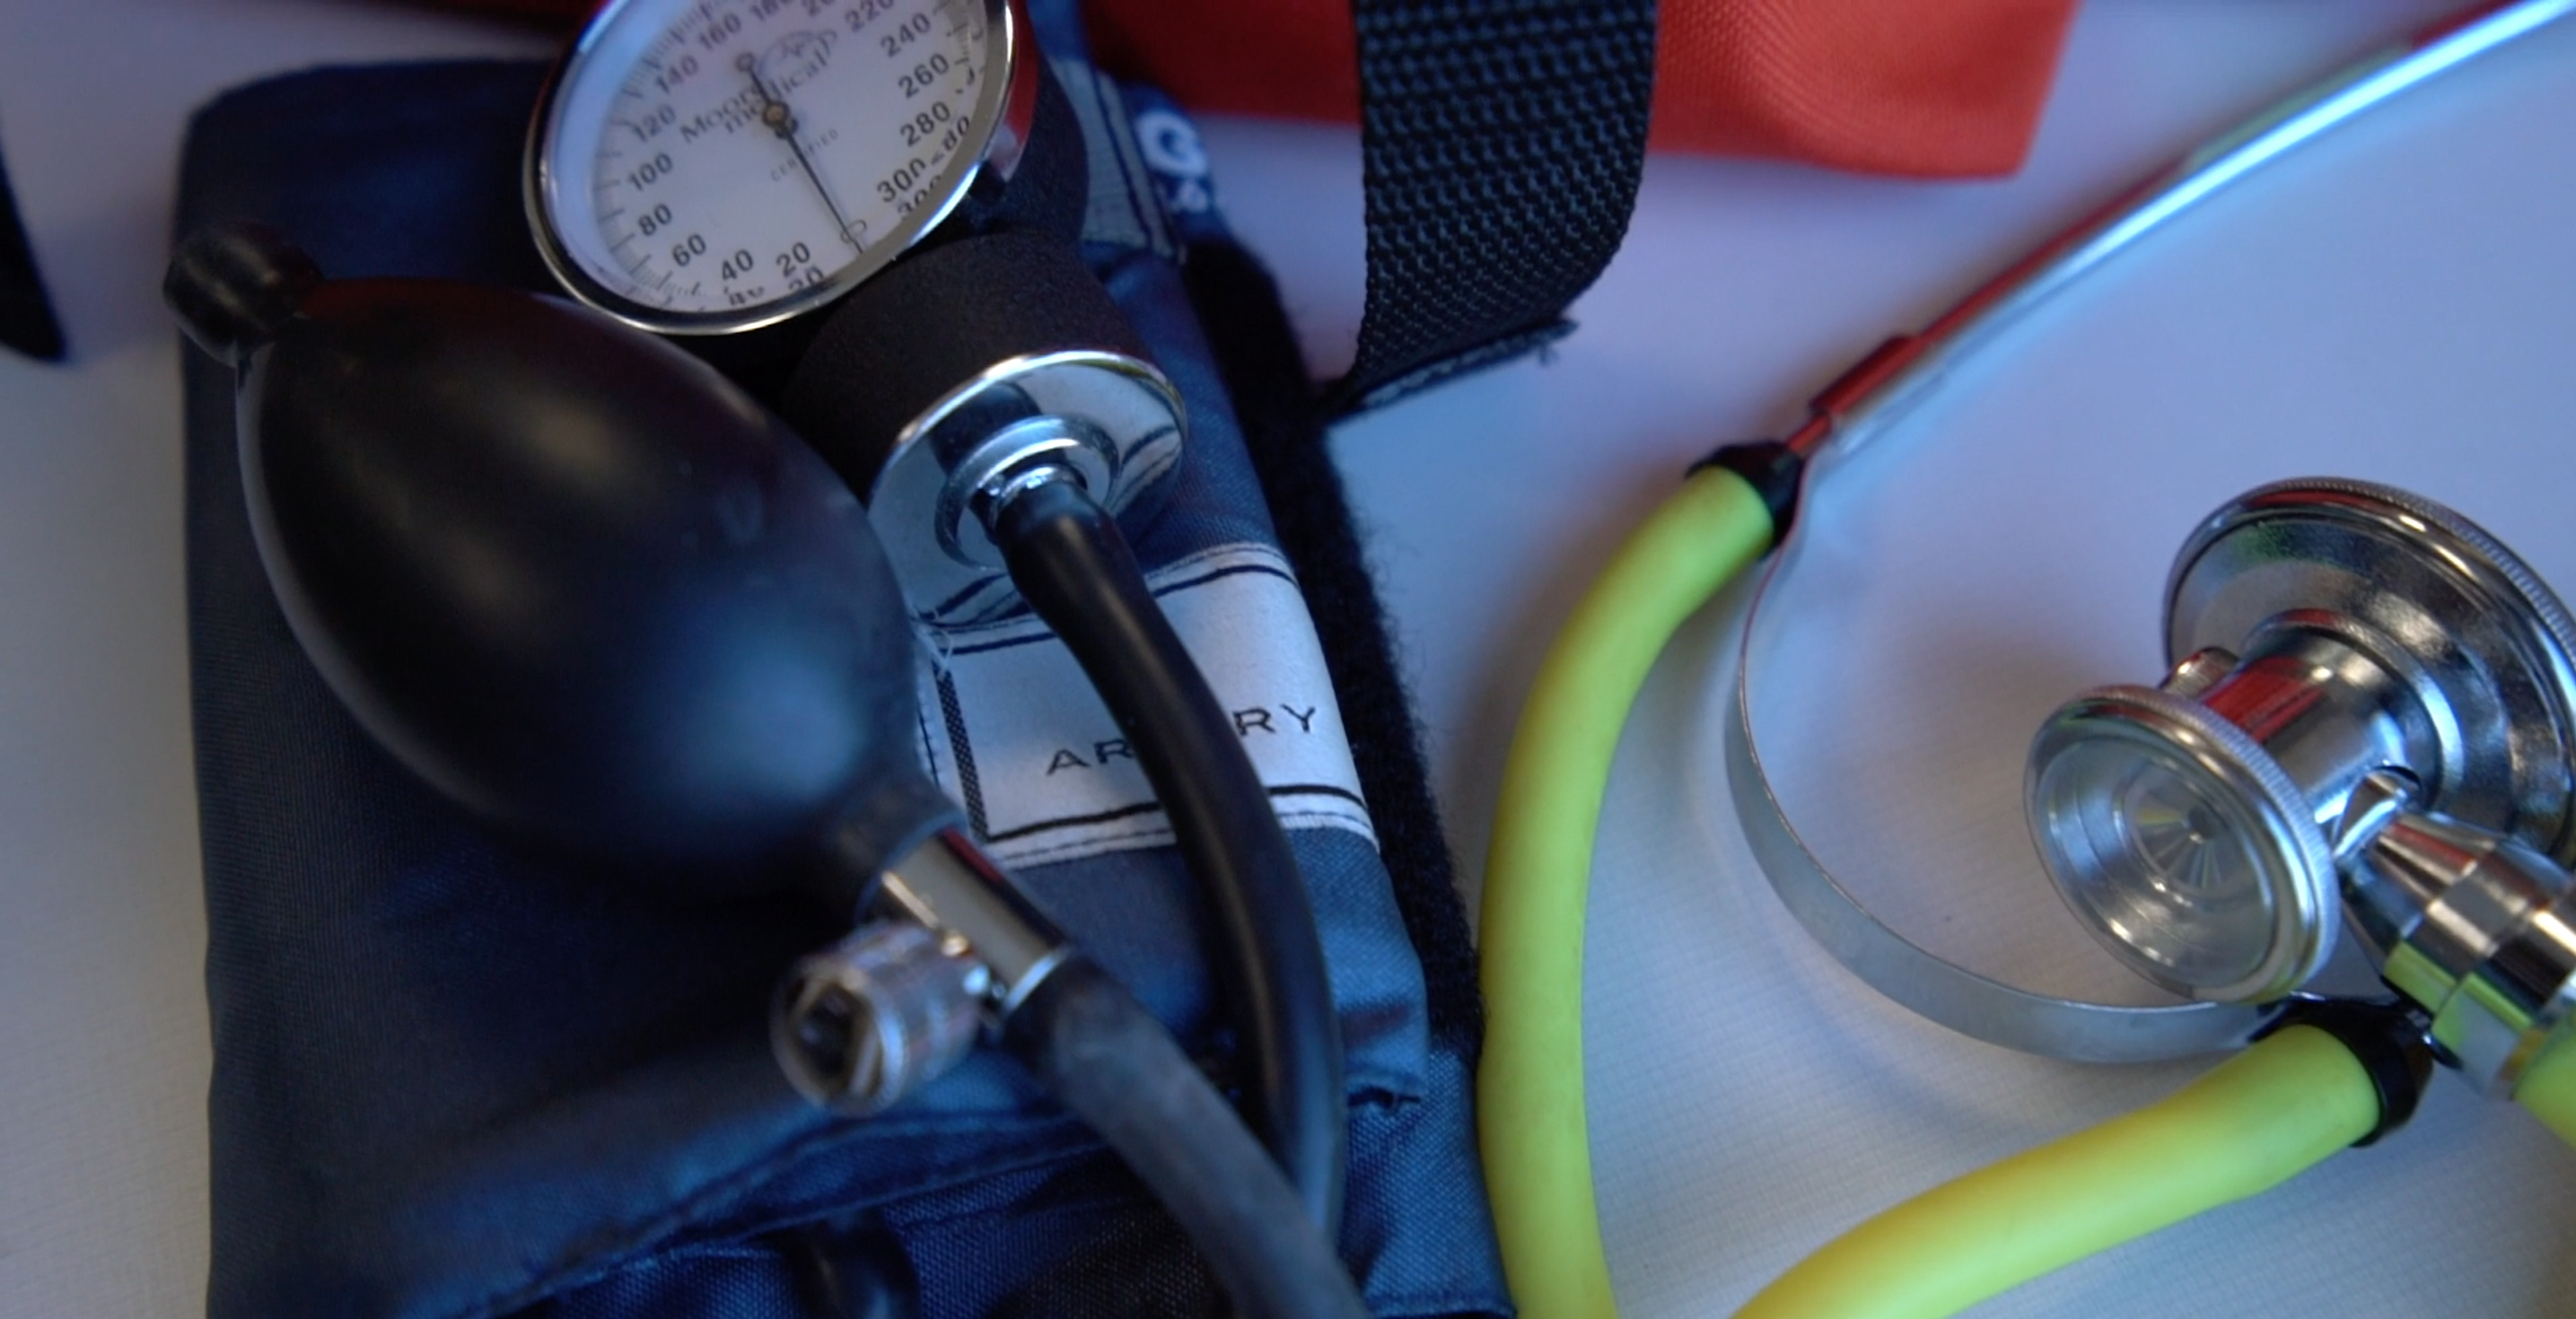
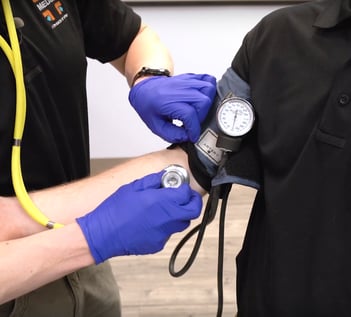
The blood pressure cuff is placed around the patient's upper arm so that the arrow is over the brachial artery. Getting a snug fit at first will prevent having to squeeze the bulb many times to achieve inflation. Placement of the stethoscope when auscultating a blood pressure is done just medial to the antecubital fossa, where the brachial artery travels from the medial aspect of the upper arm, across the elbow, into the forearm.
To verify stethoscope placement, inflate the cuff into the middle of the range where you would expect to hear a heartbeat. If you can hear the heartbeat, your placement's correct. After that, continue to inflate the cuff until well above the expected blood pressure. Gradually deflate the cuff, watching the needle. As you begin to see the needle bounce, listen closely, and you'll hear the patient's heartbeat through the stethoscope.
Take note of the number when you begin to hear the heartbeat. This is the patient's systolic blood pressure. The reading on the gauge when you no longer the heartbeat is the patient's diastolic blood pressure.
I hope you enjoyed that brief intro into the vital signs. In our next video/blog, we'll go over more vital signs, and go into more depth of their physiology. Tune in next week on BPM TV and don't forget to subscribe to our channel! Looking forward to seeing you then.
Want to learn more? Sign up for one of our upcoming EMT courses today or check out one of our many other course offerings!