
Thanks for being a part of this awesome education community. Today we'll be continuing our exploration of splinting and immobilization of lower extremities. Remember, when performing any splinting intervention, we begin with manual stabilization of the injured part, followed by initial assessment of the patient's circulation, sensation, and movement (CSMs). Keep reading or watch our video to get the full scoop on splinting lower leg injuries.
Remember to always expose the injured site, if possible, by removing or cutting away clothing in order to adequately assess the patient's injury. When removing a patient's clothing, it's important to consider exposure to the environment. I cut Rodrigo's pants here along the side, allowing me easy access to expose and assess the injury site, but I can also flip the pants back over to cover and keep him warm in a cold environment.
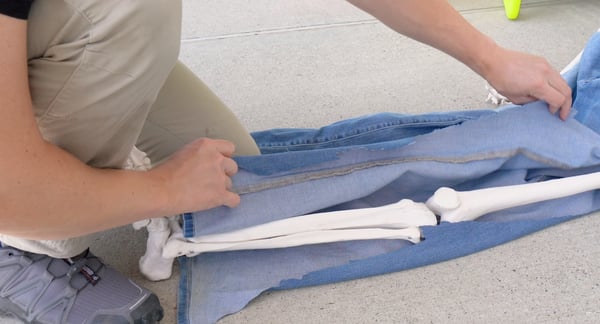
Once again, we have Matt, who's kindly volunteered to be our patient as well as videographer. Let's go over what it means when we say we'll immobilize the structures above and below the injured part. For a knee injury, this means we'll immobilize the femur as well as the tibia and fibula. For a tib-fib injury, we need to immobilize the knee joint and the ankle joint. And for an injury to the femur, we need to immobilize the knee joint as well as the hip joint.
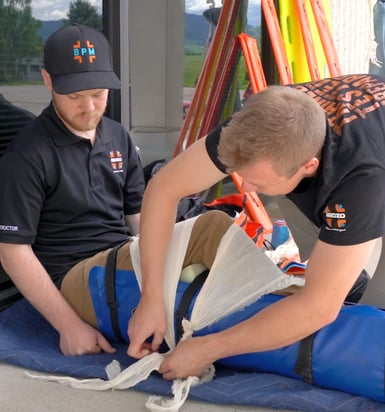
A commercial splitting device can be used, placed around the extremity using padding to fill voids and preserve a position of comfort for the patient.
If the patient's most comfortable with his knee in a flexed position, you can pad underneath the knee to fill the void and provide adequate support.
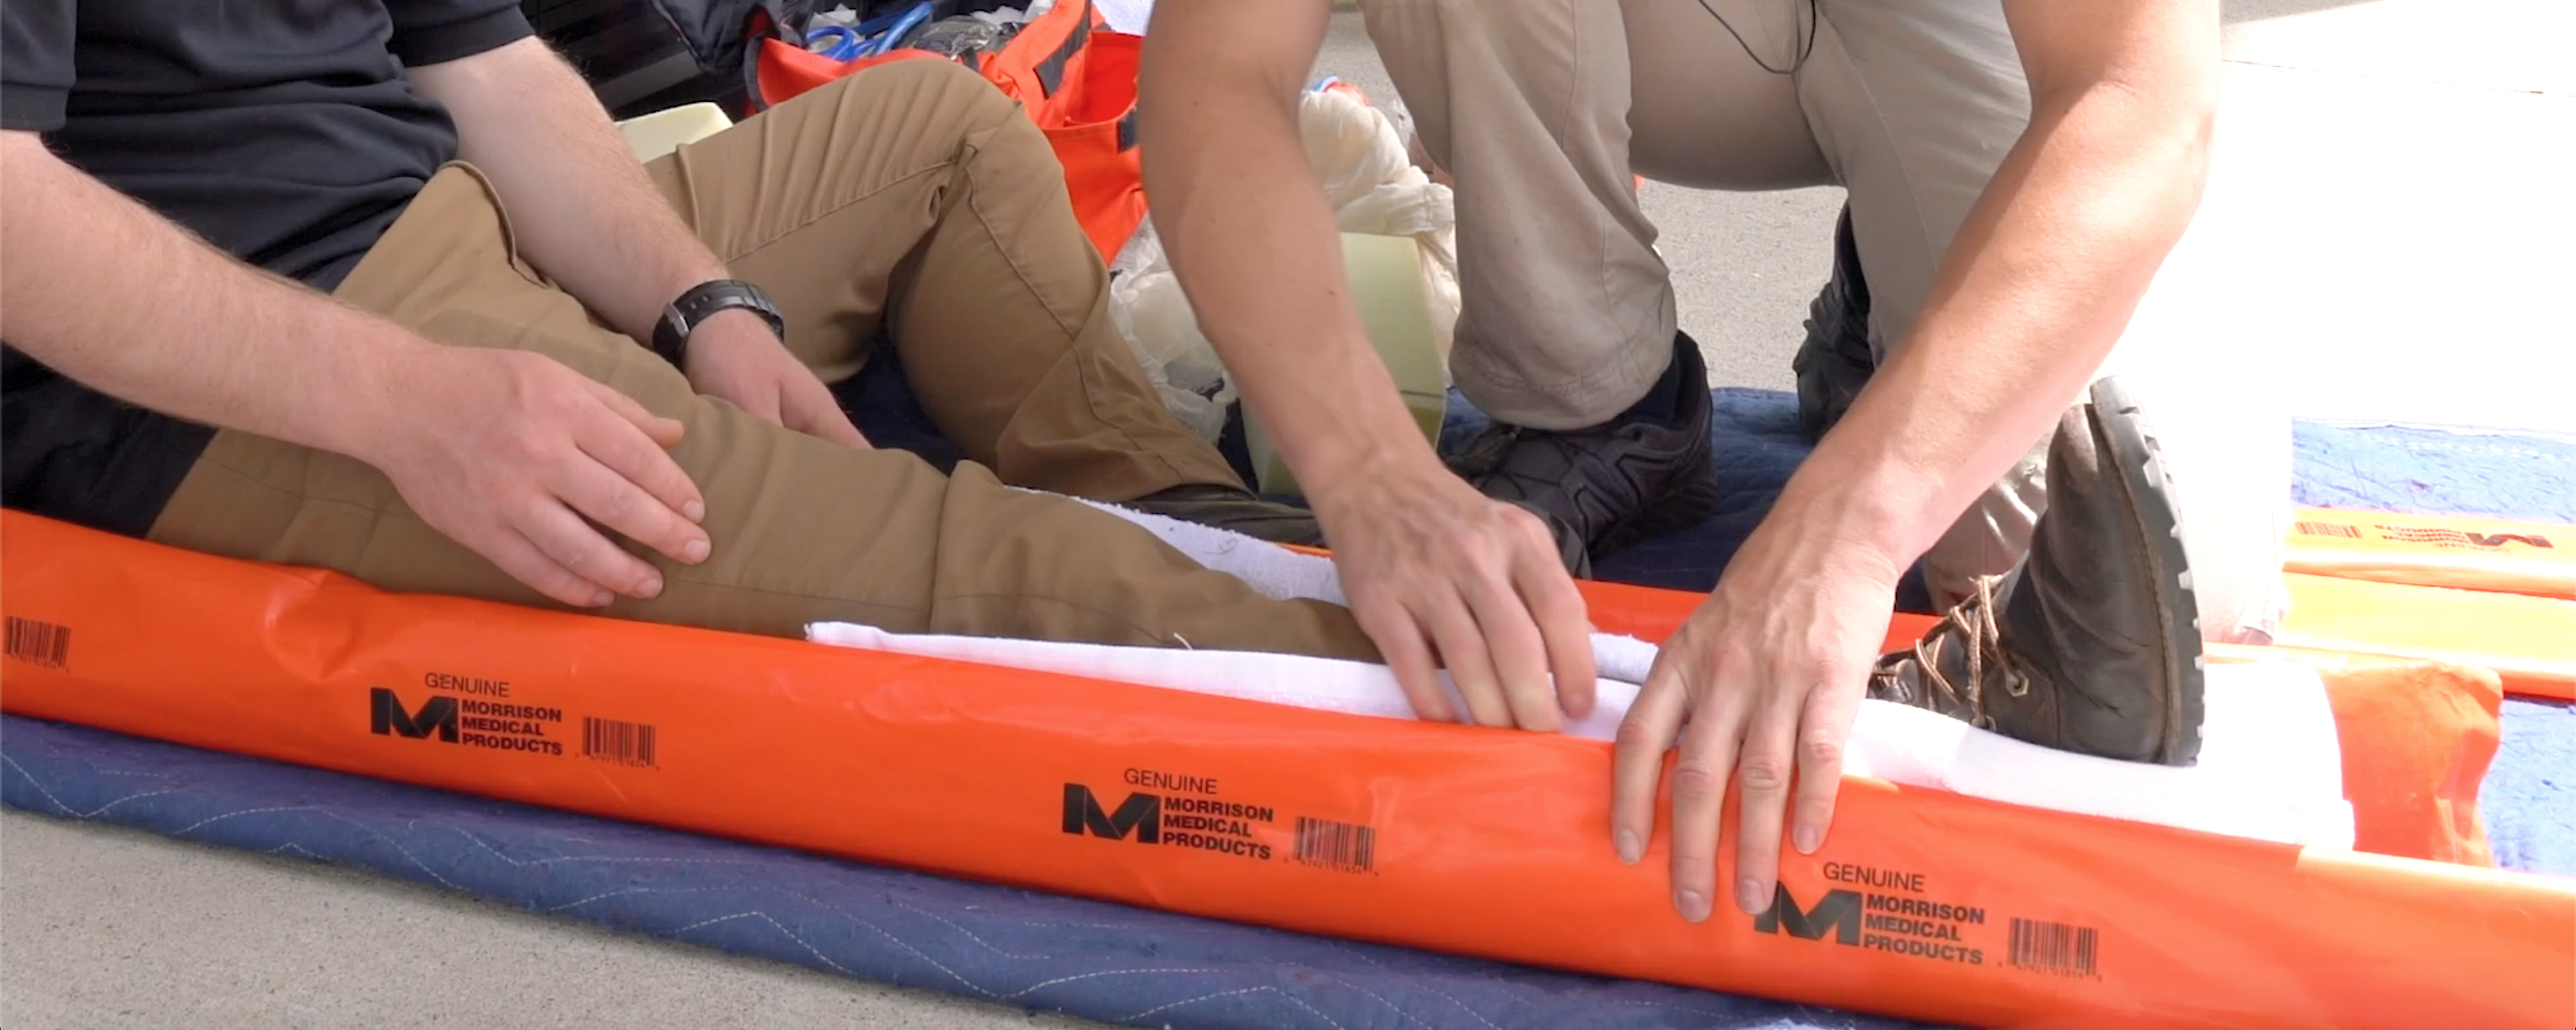
So in this example, we have a commercial splinting device with straps that secure to the patient's leg.
We have towels and foam blocks to provide padding of voids in a position of comfort. And we've used cravats to supplement our straps, one of which wasn't long enough to go all the way around the patient's extremity.
Another common device for extremity splinting are padded board splints. These are placed next to the tissues needing to be immobilized, padded, and secured following the principles we've already demonstrated.
Always remember to reassess the patient's CSMs after applying a splint. If the CSMs were present prior to but not after splinting you may be permitted on attempt at realignment, depending on local protocols.
The methods we've demonstrated are adequate for most injuries to the lower extremity. However, injuries to the femur may require special considerations. For one, if this bone is broken, we need to immobilize not only the knee joint but also the hip joint, which usually requires immobilization on a long spine board. Certain femur fractures require splinting using a traction device. Stay tuned for an upcoming video/blog series in which we'll detail the indications, contraindications, and application of traction splinting.
We hope you found this post informational and useful to your clinical practice. Tune in next time or check out our BPM-TV Youtube Channel, and as always, thanks for reading.
Want to learn more useful medical interventions? Sign up for one of our upcoming EMT courses today or check out one of our many other course offerings!