Thanks for joining us! This is Miles with Best Practice Medicine. Today's post is another in our series covering extremity immobilization and splinting. In this, and the next few posts, we'll be covering immobilization of the lower extremities, including knees, ankles, and feet, and the upper and lower legs. Watch the video or read along below!
The topic of today's post is immobilization of the ankle. Remember, with this and every other splinting intervention, the first step is manual stabilization of the injured part, and the whole intervention is book-ended by assessment of the patient's circulation, sensation, and motion (CSMs).
Splinting material options for the lower extremities include SAM splints, Coban, ACE wraps, cravats, towels or rolls for padding, and padded board splints, which is a commercial device with a rigid board and padding on one side that conforms to the patient's anatomy.
When manually stabilizing and immobilizing an injury, remember to stabilize above and below the injured part. Ideally, a position of function in the foot will be maintained, which is a neutral anatomic position. However, for an injury to the joint, we are not permitted to attempt realignment (this may vary based on local protocols).

First we'll perform or direct manual stabilization of the injured extremity. Normally, we'd have an assistant do this. Then we'll assess the patient's CSMs. Next, we'll select the proper splinting material. For an ankle you could use a SAM splint, padded board splints, a soft splint, or other improvised material.
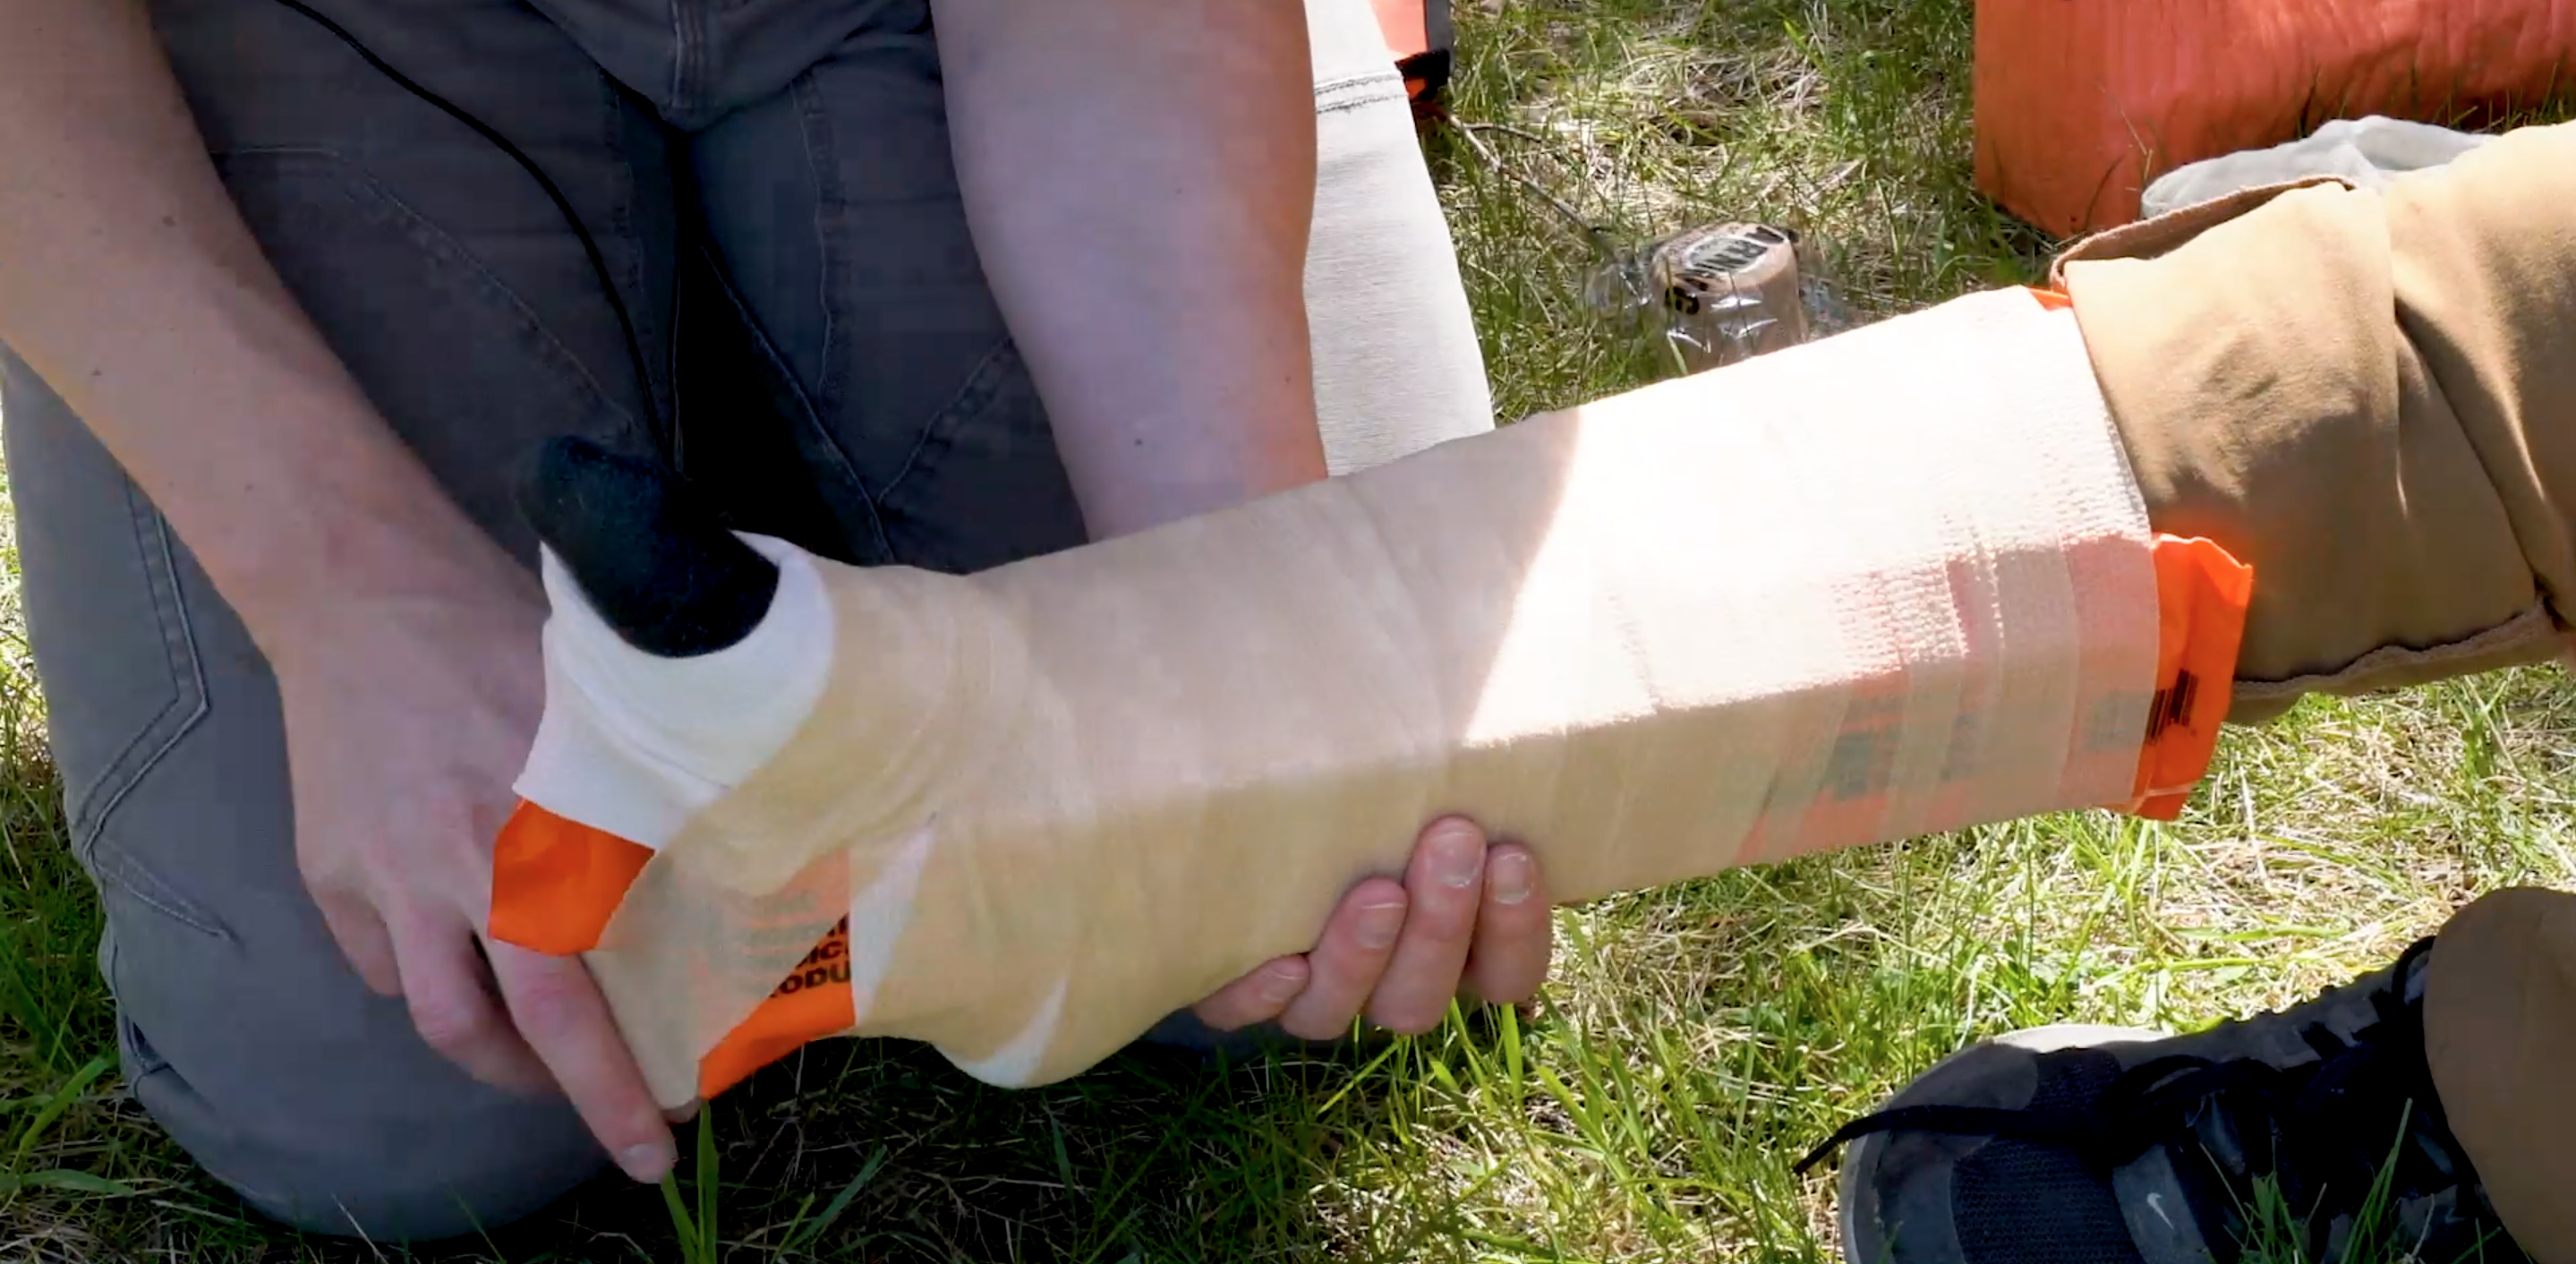
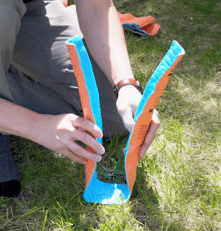
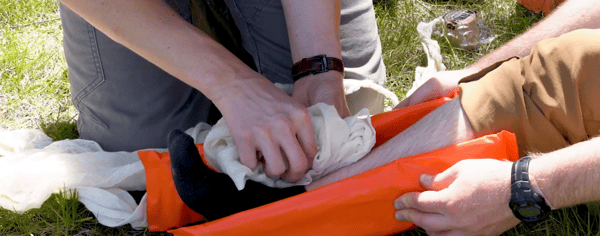
Next, you'll form the splinting material to match the patient's anatomy, then secure the splinting material using ACE bandage, Coban, or other wrapping material. Remember that the strength of the SAM splint comes from the cylindrically shaped channels, so to build a strong splint carefully form the splinting material to the patient's body to ensure structural integrity.
Select the proper splinting material and position it next to the patient's body. Size and form the split to match the anatomy of the patient. It's important to pad any voids for structural support. Do this with foam blocks, towels, cravats, or other soft material. 
After immobilization's complete, finish up by rechecking the patient's CSMs. If CSMs were present before splinting but are no longer present, you may be permitted one attempt at resplinting, again base on local protocols.
Thanks for tuning in to BPM-TV. As always, we hope you found this post informative and useful to your clinical practice. Tune in next time for more on extremity immobilization. As always, thanks for reading.
Interested in emergency medicine or expanding your already developed skills? Check out our growing YouTube channel for more great content, or check out all our upcoming courses for world-class medical training and education!

